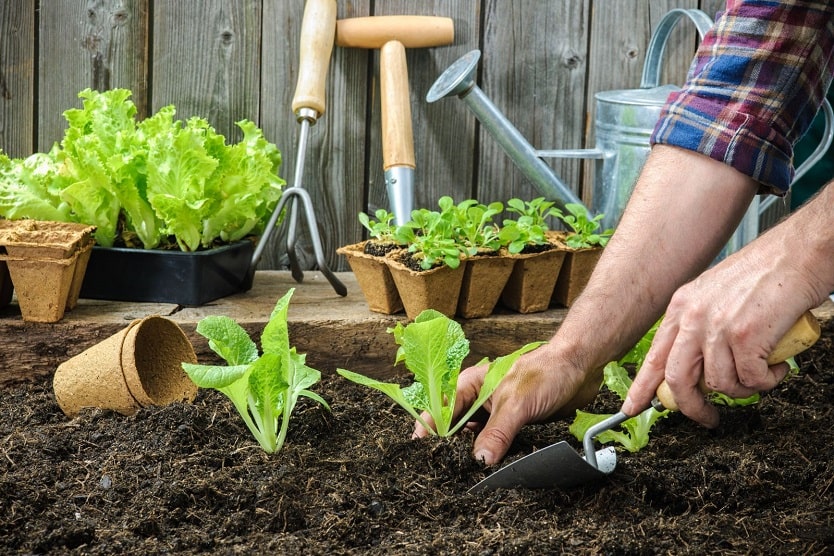
You’ve been trying to eat more organic foods, both to decrease the amount of pesticides you and your family consume and to help protect the environment. But take one look at your grocery store receipt and you know that buying organic can get very expensive, very fast. Luckily, there’s a way to grow your own delicious, fresh produce while having fun and learning at the same time: organic gardening!
Don’t know where to start? It is possible to hire someone to install and maintain a beautiful organic garden for you, but most of us can roll up our sleeves with a surprisingly low amount of effort. Remember, you can start small, even with just a single plant or two. Don’t worry if things aren’t perfect right away.
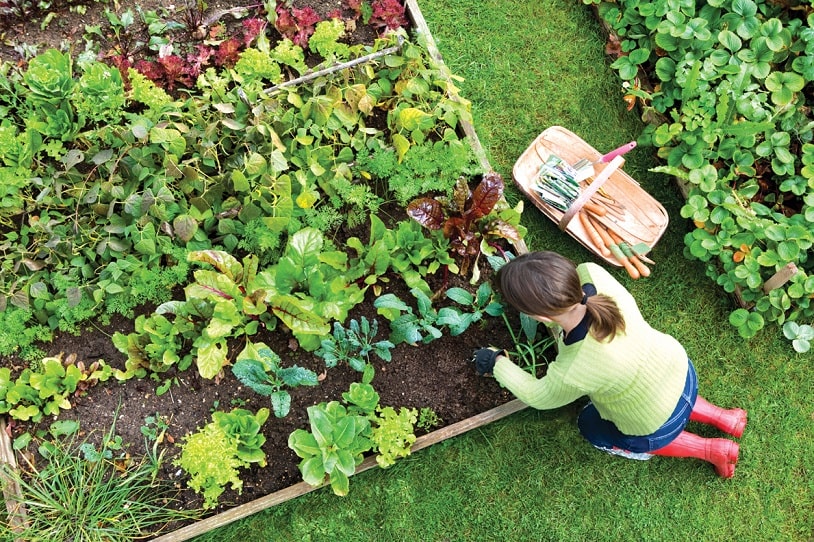
Organic gardening means you won’t use synthetic fertilizers or pesticides, but that doesn’t mean your plants fend for themselves. There are an array of tools you can use to bolster plant health and ward off pests. Read on for specific tips, taken from expert garden blogger, Leslie Land, her New York Times book 1000 Gardening Questions & Answers, and other sources.
Getting Started
Start off on the right foot with all of the tools you’ll need for the job.
Top-Tested Clippers: Fiskars PowerGear Bypass Pruner ($25, amazon.com)
Ergonomic Trowel Set: Fiskars 3 Piece Softouch Garden Tool Set ($16, amazon.com)
Best-Selling Soil Test Kit: Luster Leaf Rapitest Soil Test Kit ($14, amazon.com)
Favorite Compost Bin: Yimby Tumbler Composter ($89, amazon.com)
Breathable Garden Gloves: Pine Tree Tools Bamboo Working Gloves ($8, amazon.com)
Lightweight Watering Can: Union Watering Can ($10, amazon.com)
Preparing the Soil
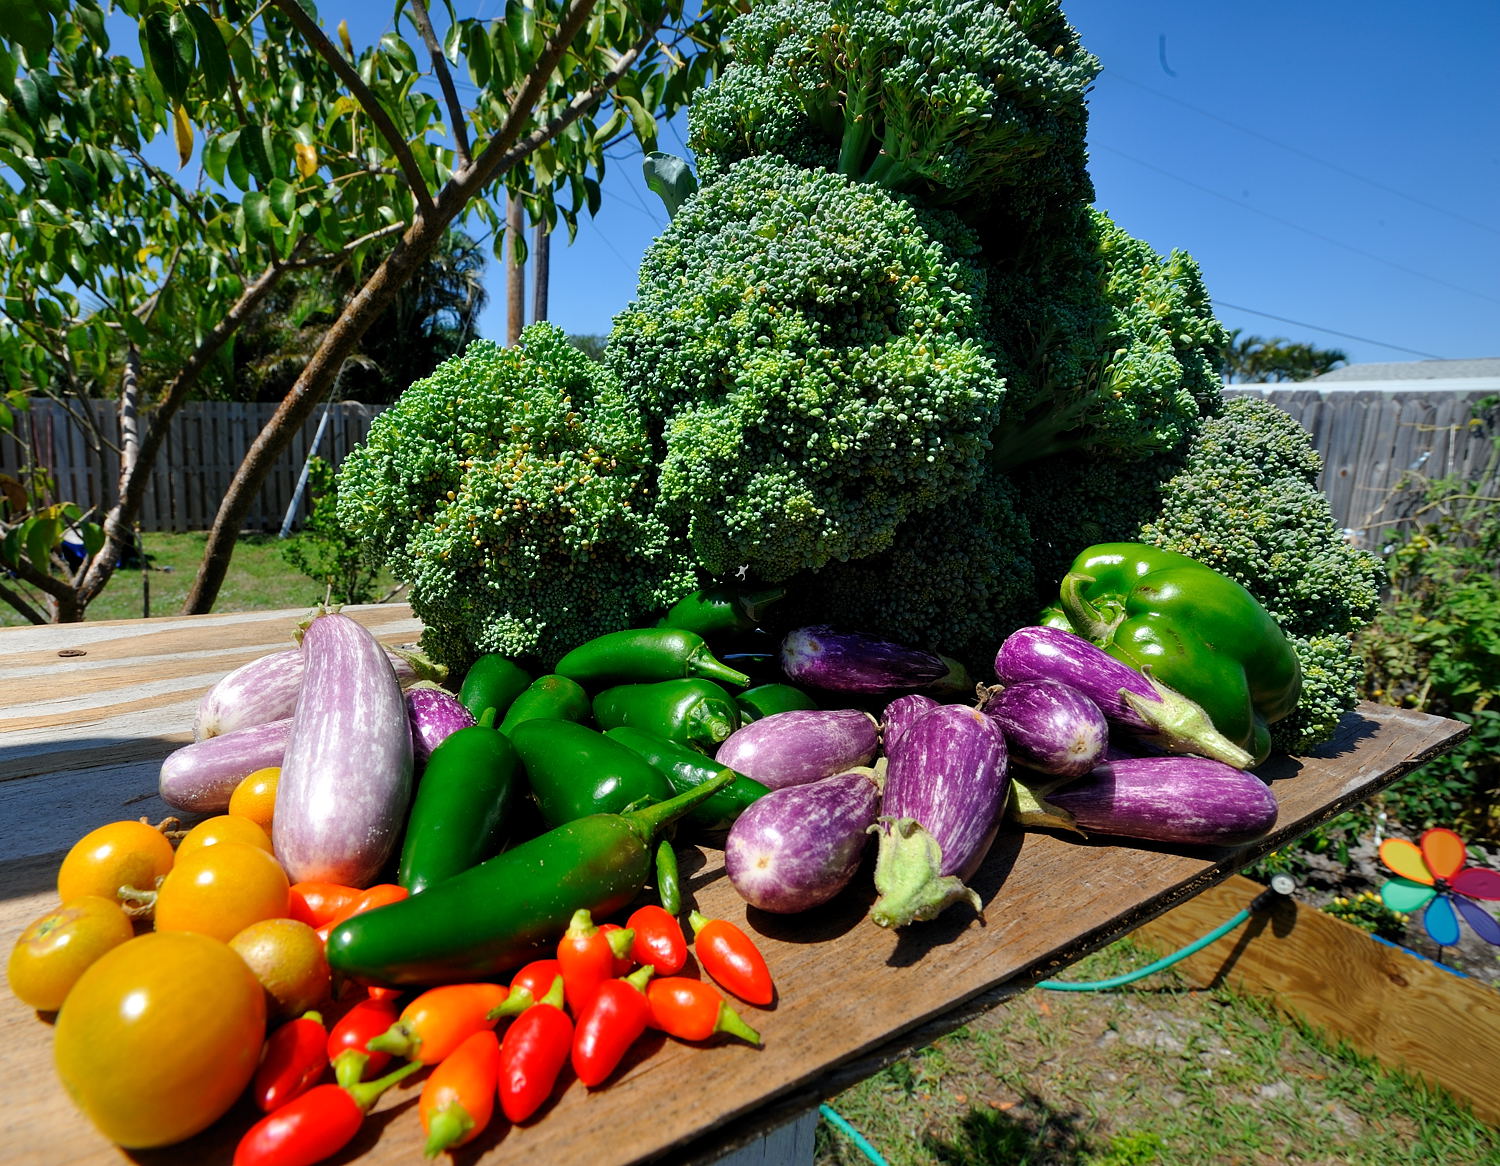
In order to get the best results with your new organic garden, you’ll want to make sure the soil is properly conditioned. You have to eat, and so do plants, so make sure your veggies get lots of fresh nutrients. Healthy soil helps build up strong, productive plants. Chemical soil treatments can not only seep into your food, but they can also harm the beneficial bacteria, worms, and other microbes in the soil.
The best way to gauge the quality of your soil is to get it tested. You can get a home testing kit, or better, send a sample to your local agricultural extension office. For a modest fee you’ll get a complete breakdown of pH and nutrient levels, as well as treatment recommendations; be sure to tell them you’re going organic. Typically, it’s best to test in the fall, and apply any organic nutrients before winter.
Even if you don’t have time for testing, you’ll want to make sure your soil has plenty of humus — the organic matter, not the similarly named Mediterranean spread. According to 1000 Gardening Questions & Answers, you’ll want to mix in compost, leaf and grass clippings, and manure. Manure should be composted, unless you aren’t harvesting or planting anything for two months after application. Preferably, get your manure from local livestock that’s organically and humanely raised.
Making Good Compost
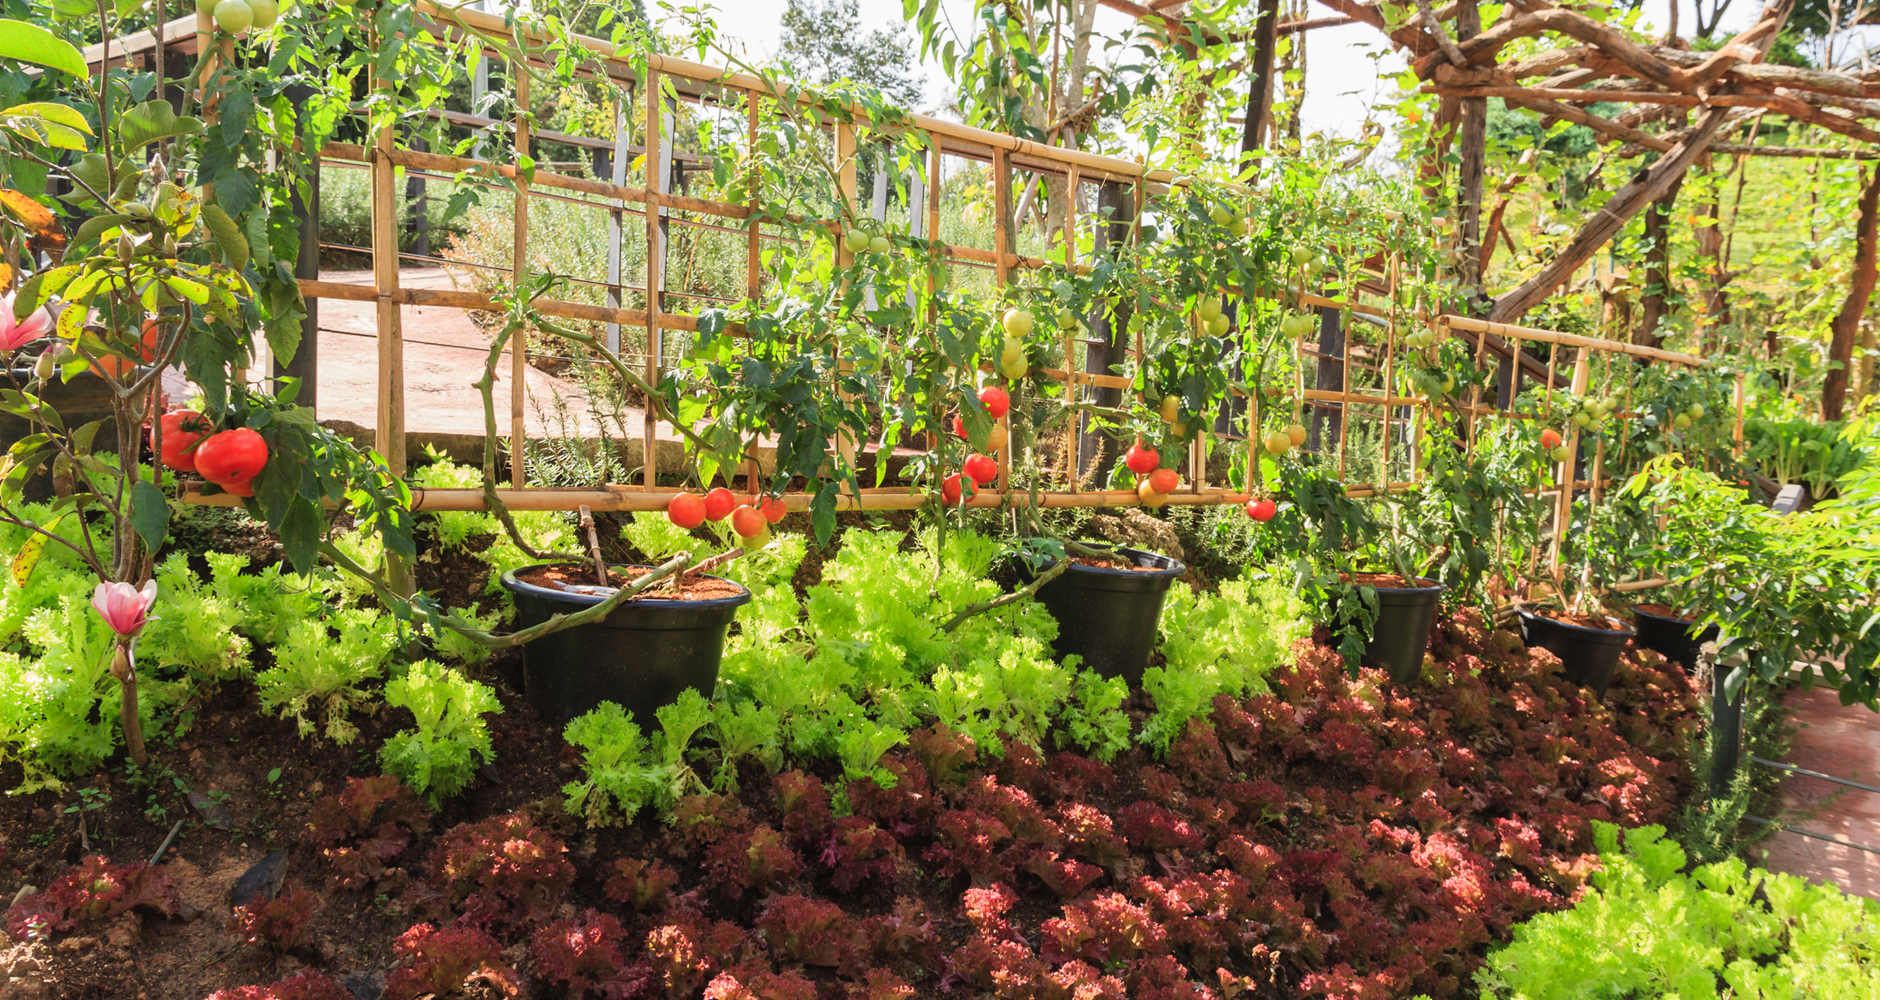
All gardens benefit from compost and you can make your own on site. Hey, it’s free! Compost feeds plants, helps conserve water, cuts down on weeds, and keeps food and yard waste out of landfills by turning garbage into “black gold.” Spread compost around plants or mix with potting soil — it’s hard to use too much!
The best compost forms from the right ratio of nitrogen- and carbon-rich organic waste, mixed with soil, water, and air. It might sound like complicated chemistry, but don’t worry too much if you don’t have time to make perfect compost. Even a minimally tended pile will still yield decent results.
1. To get started, measure out a space at least three feet square. Your compost heap can be a simple pile or contained within a custom pen or bin (some can be rotated, to improve results).
2. Add alternating layers of carbon (or brown) material — leaves and garden trimmings — and nitrogen (or green) material — such as kitchen scraps and manure, with a thin layer of soil in between.
3. Top off the pile with four to six inches of soil. Turn the pile as new layers are added and water to keep (barely) moist, in order to foster microbe action. You should get good compost in as little as two months or longer if it’s cold.
4. A properly maintained compost pile shouldn’t smell. If it does, add more dry carbon material (leaves, straw, or sawdust) and turn it more frequently.
Choosing the Right Plants
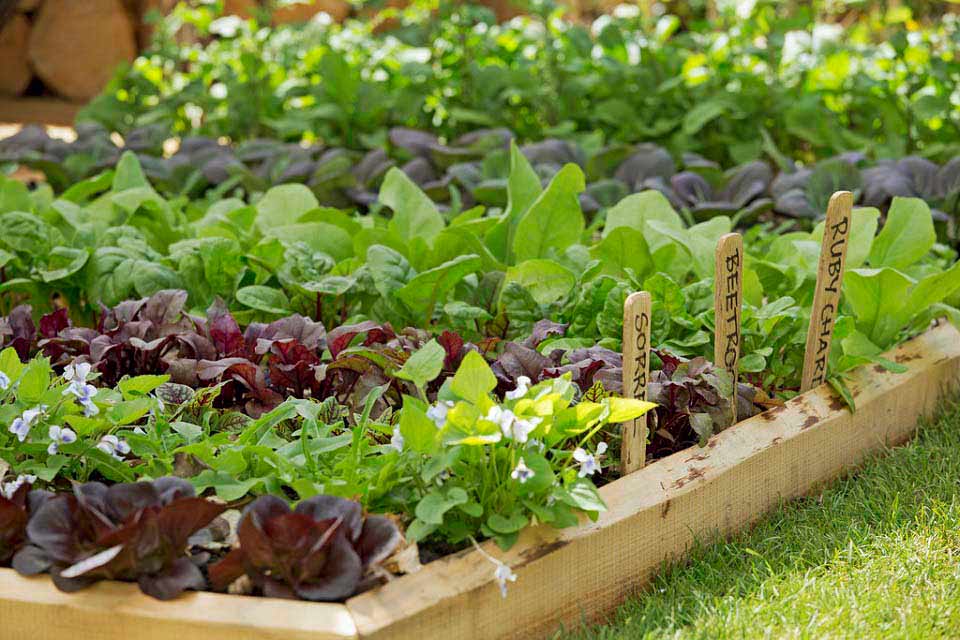
It really pays to select plants that will thrive in your specific micro-conditions. As a general guide, check the USDA‘s Hardiness Zones. Choose plants that will adjust well to each spot in terms of light, moisture, drainage, and soil quality. Most gardens have gradations in these variables. The happier your plants are, the more resistant they’ll be to attackers.
If you’re buying seedlings, look for plants raised without chemical fertilizers and pesticides. A great place to look is at your local farmers’ market, which may also have native plants and varieties well-suited to your area. It’s better to buy stocky seedlings with few, if any blooms yet, and root systems that don’t look overcrowded.
Many things are best grown from seed, including sunflowers, annual poppies, coriander, dill, annual phlox, larkspur, annual lupine, morning glories, sweet peas, squash, and cucumbers.
Planting Crops
Plants that you will be harvesting, such as vegetables or cutting flowers, should be grouped tightly in beds that you don’t walk on. Raised beds work great. Grouping reduces weeding and water waste, and helps you target compost and nutrients. Ample space between rows helps promote air circulation, which repels fungal attacks.
Remember that seedlings won’t always stay diminutive, and you do want to limit overshadowing. It’s a good idea to thin crops based on nursery suggestions.
According to Leslie Land, if you want the highest returns of organic produce with limited space and time, these plants are typically winners:
1. Indeterminate tomatoes: so named because the vines keep getting bigger and producing new fruit until frost.
2. Non-hybrid (old-fashioned) pole beans: They keep growing and producing ’til frost — assuming you keep them picked.
3. Zucchini: Everything they say about avalanches of zucchini is true, especially of hybrid varieties.
4. Swiss chard: You can keep breaking off outer leaves for months, and every picking will be tender as long as plants get enough water.
5. Tall snow peas and sugar snaps: They grow readily and produce delicious rewards.
Watering
The best time to water plants is usually in the morning. Why? Mornings tend to be cool with less winds, so the amount of water lost to evaporation is reduced. If you water in the evening, plants stay damp overnight, making them more likely to be damaged by fungal and bacterial diseases.
Ideally, you want to water the roots, not the greenery, which is easily damaged. A drip or soak system can work great, or just carefully water the bases of plants by hand.
Most experts recommend substantial, infrequent watering for established plants, typically a total of about one inch of water per week (including rain). One or two applications a week encourages deeper rooting, which promotes stronger plants. To avoid shocking tender greenery, try to use water at or near air temperature; collected rainwater is best.
Weeding
No matter where you live, you’ll still get weeds. Pulling them by hand may sound like hard work — and it can be — but it also can be good exercise, and gets you outside in the fresh air.
Reduce the number of weeds you have to contend with by applying mulch, which also helps protect the soil. Organic mulch and burlap can work in a pinch. Straw is cheap but doesn’t last long. Wood chips are nice, but can get pricey. Many people opt to use lawn clippings, although it should be noted that because they are high in nitrogen, clippings should only be used on plants that need a lot of the nutrient, such as squash and lettuce.
Protecting Plants Without Pesticides
If your garden is being assaulted by pests, it may be a sign of other problems, so the first thing you should do is make sure plants are getting enough light, nutrients, and moisture. Also remember that a diverse garden helps prevent pests by limiting the amount of one type of plant offered up to enemies.
It’s a good thing to foster natural predators in your garden, such as frogs, toads, lizards, birds, and even bats. Beneficial insects can be your best friends, especially ladybugs. Many nurseries even sell cans of them, though it’s true there’s a high probability they won’t stick around. Leave a small source of water out to attract friendly predators. It’s also a good idea to grow plants with small blossoms, such as sweet alyssum and dill, which attract predatory insects. Nets and row covers can also work.
Organic weapons include Bacillus thuringiensis, a naturally occurring bacteria that disrupts the digestion of caterpillars and other leaf-eaters. You can also use horticultural oils, insecticidal soaps, garlic, or hot pepper sprays.
Harvesting
Don’t forget to harvest the fruits of your labor! Generally, the more you harvest, the more your plants will produce for you.
During peak harvest season, you’ll likely find that it’s best to check your garden every day. Got herbs? If you use them fresh, pick them right before you need them. But if you’ll be drying and storing them, it’s best to wait until just before they flower, since they’ll have the most flavor. Gather all herbs except basil in mid-morning, shortly after dew has dried. Harvest basil in the late afternoon, since it will last longer after some time in the sun.
When harvesting leafy greens, pick sporadically from the entire crop, a little from each plant. For broccoli, wait until the central head is as large as it will get, before sending off buds for flowering. Cut it off right above the leaf node, and you’ll likely get better production from the rest of the plant. In general, it’s best to cut produce off with a sharp knife or scissors versus ripping with your fingers, which can cause more damage to plant tissue.
If you get too much bounty, remember you can also freeze, store some types of produce in a root cellar, or take up canning. Enjoy!
Cleaning Up
If you notice sick plants either during the season or at the end of the year, make sure you pull up the entire organism. Don’t forget to rake up underneath, since diseased leaves can harbor problems for a long time. Put all infected material deep in the woods, in the ground at least a foot deep, or on the bonfire.
Most healthy or expired plants can actually be left in place over winter. You’ll provide some food and habitat for birds and other wildlife, and plant cover can help protect your soil from eroding. It’s better to chop off annuals instead of yanking them out. That way you’ll leave soil intact, and help prevent weeds from gaining a foothold.
